How to Make a Text Box in Google Docs
How to Insert a TextBox in Google Docs
There are plenty of ways to make your text stand out in Google Docs, but nothing compares to a dedicated text box. Many users are wondering how to insert a text box into their Google Docs files, as the process is not as straightforward as you'd think.
Google Docs is a highly accessible, free alternative to word processors such as Microsoft Word. Luckily, despite the no-cost service, there are a plethora of features that allow you to create professional documents. Even something as simple as inserting a text box can be done in different ways.
In this article, we'll be taking an in-depth look into how you can spice up your Google Docs files with text boxes. Make your paragraphs stand out and stylize your document to leave an impact on your readers.
Insert a text box in Google Docs using tables
While the primary function of tables is to compile data in a compact manner, you can use this function to create and customize text boxes. You can find a step by step guide below to help you set up and customize your tables in Google Docs to resemble a text box.
What we like about using tables to create text boxes is the ability to display and use them on all devices. Every version of Google Docs, including iOS and Android support tables, making this a universal method to create a text box.
In all versions of Google Docs, you should follow the steps displayed below.
- Open Google Docs and begin editing the document you want to insert a text box into. Make sure to place the blinking cursor where you want this text box to appear.
- Click on the Insert tab, then hover over Table with your mouse. A grid will appear where you would normally select the number of cells in your table.
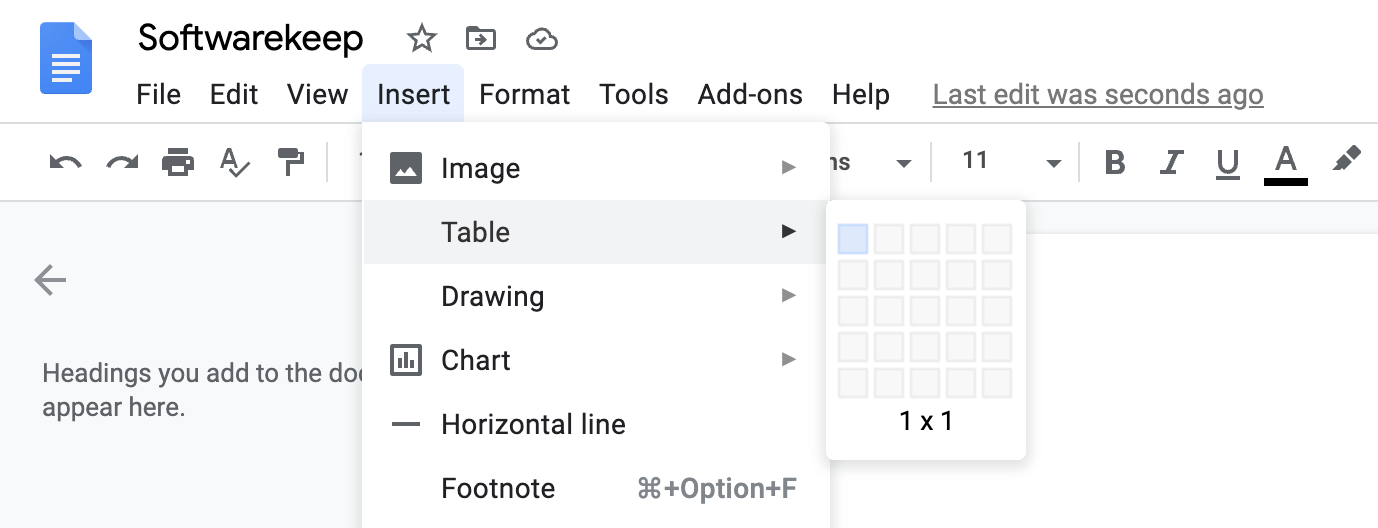
- Reduce the number of rows and columns until you have the first box in the upper-left corner selected. When clicking on this box, Google Docs will create a 1 x 1 table. In some versions of Google Docs, you may have to tap the Insert Table button to finalize the table.
- Click inside the table to enter text. You'll notice that the setup looks similar to a text box.

Furthermore, you can customize the look of your table to more resemble a text box. This is a great way to make your document stand out more with a unified look. Make sure that your blinking cursor is inside the table before editing its looks. Here are all the things you can do to customize your single-cell table in Google Docs.
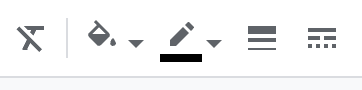
- Use the Background fill tool to change the background of your text box. If you wish to have no background for the text box, select the Transparent option.
- Use the Border color tool to change the color of the border around your text box.
- Use Border width to change how thick the border around your text box is. If you wish to remove the border around the text box, simply select 0px.
- Use the Border dash tool to choose between solid, dotted or dashed borders for your text box.
You may also customize the contents of your text box inside the table using the regular text formatting tools. These can be found in the Google Docs toolbar. Modify the font, text size, and text color with ease to look unified with your box itself.
Insert a text box in Google Docs using the Draw feature
A different approach to insert a text box into Google Docs would be using the Draw feature. While this might be faster or easily customizable for people, you have to note the limitations.
Text boxes inserted through the Draw feature will display in the Android and iOS versions of Google Docs. However, as of June 2020, you can't edit the contents on mobile platforms. You may still copy, relocate, or delete the inserted text box.
Below are all the steps needed to create and customize a text box with the Draw feature in Google Docs.
- Open Google Docs and begin editing the document you want to insert a text box into. Make sure to place the blinking cursor where you want this text box to appear.
- Click on the Insert tab, then hover over Drawing . Click on the + New option to begin creating a new drawing. This should open up a new window within your browser.
- Click on the Text box icon, pictured below from the toolbar. Doing so will insert a box you can type into and customize as you wish.

- Use the following tools in the toolbar to customize the look of your text box. You may change the background color, borders, and even resize the text box by dragging the corner points. You can also format the text inside it using the regular formatting tools.

- Once you're done editing the contents and design of your text box, hit the Save and Close button. You should see the text box inserted right into your document.
- To modify the text box you created, simply click on it and select the Edit button. You'll be taken back into the same view you used to create the text box. You can make any adjustments to the contents and customization, then press the Save and Close button to finalize the modifications.
- Once again, you can only edit your text boxes made with the Draw feature on desktop versions of Google Docs. However, you can still copy, remove, or move the text box elsewhere on non-supported platforms.
Final thoughts
We hope that our article helped you successfully insert a text box in your Google Docs document. If you ever need assistance with this action, return to this article and perform the recommended solutions again.
You May Also Like:
> How to Delete a Page in Google Docs
> How to Change Margins In Google Docs
How to Make a Text Box in Google Docs
Source: https://softwarekeep.com/blog/how-to-insert-a-textbox-in-google-docs